Hello Friends,
I have already ordered a Ryzen 5 5600H mini PC. I begin to take note about the installation procedure.
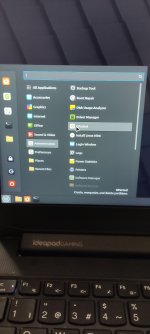
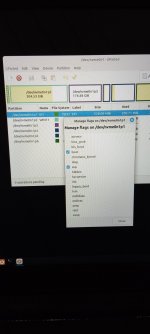
I plan to use SystemRescue tool to partition my Ryzentosh primary OS disk.
Thanks for your valuable opinions.")
I have already ordered a Ryzen 5 5600H mini PC. I begin to take note about the installation procedure.
I plan to use SystemRescue tool to partition my Ryzentosh primary OS disk.
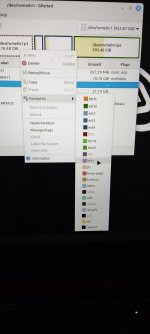
- So how should I partition the bootable OS disk?
- Is 512MB enough for the EFI partition?
- How about the macOS Recovery partition?
Thanks for your valuable opinions.